Related Pages: RETURN TO: Standard Balances | EZ-Replacement Balances | Installation: EZ-Replacement Balances
Pullman Standard Window Sash Balances General Installation Information
Always weigh the sash carefully and use the correct balance. On each balance, the weights which two balances will handle are stamped on the face under the model and spring number. If possible, use the balances themselves for cutting the necessary mortises.
Directions for Fitting Sash Balances:
- Do not kink the tape or allow it to slip from the fingers and fly back into the Balance. This is almost sure to break the loop off at the end of the tape.
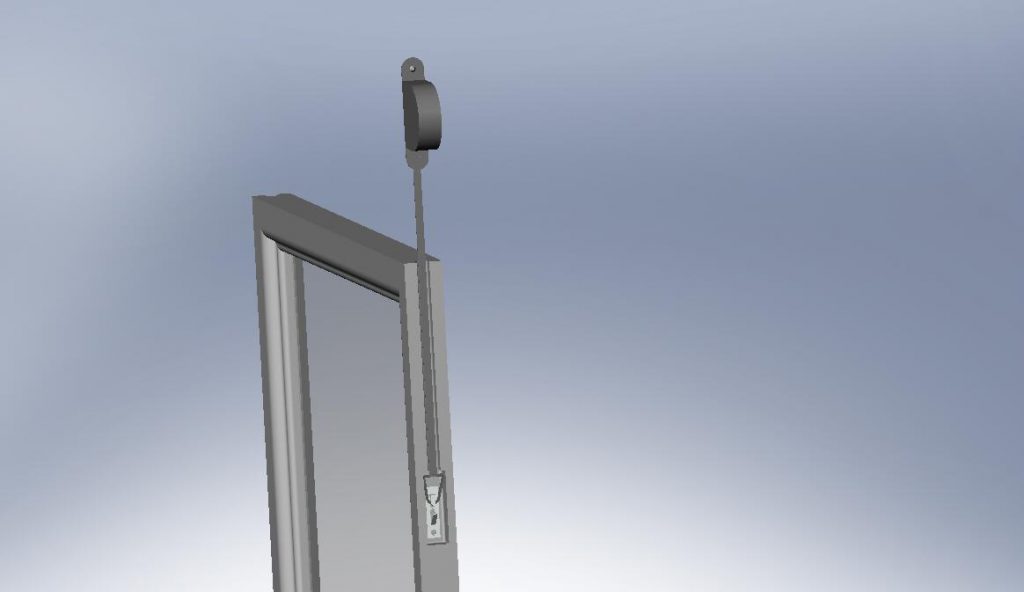
- Pull tape out of Balance straight downward, never in an outward or upward direction.
- See that the sash works freely in the frame and does not bind at any point. Lubricating paste wax may be applied to the edges of the sash.
- Keep tape absolutely free from paint. Otherwise it will interfere with free action of moving parts.
To Prepare Windows:
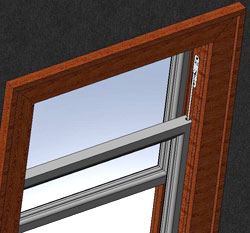
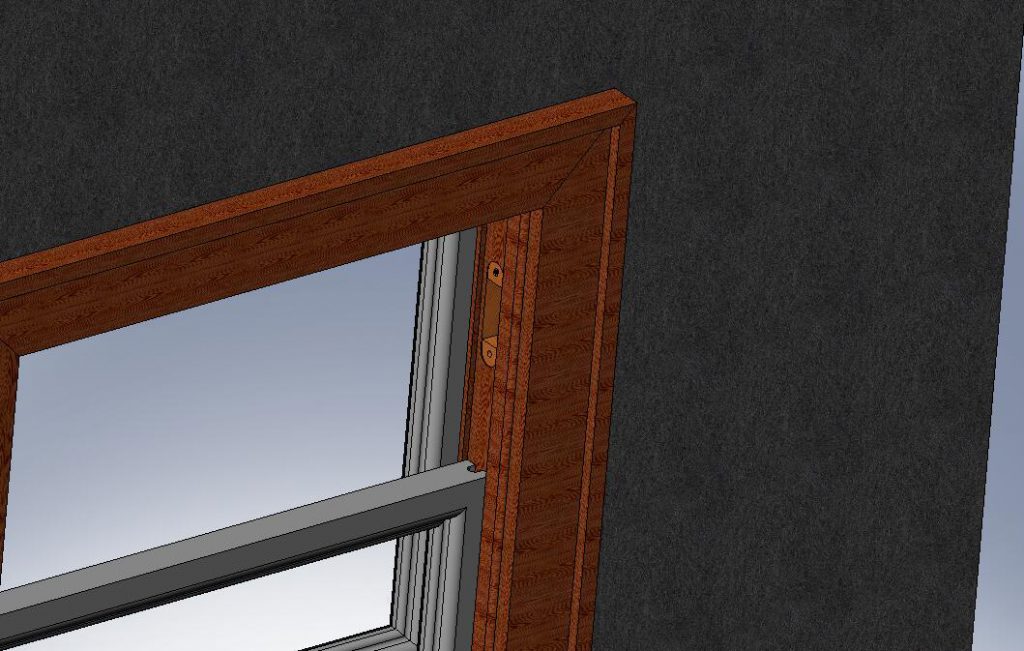
- Place Balances near top – about 3 1/2 inches below top rail for Side Type. Overhead Type Balances are applied the same way except that mortises are made in top rail of frame near the corner, instead of in the side. If needed, modify the pocket so the faceplate sits flush against the frame.
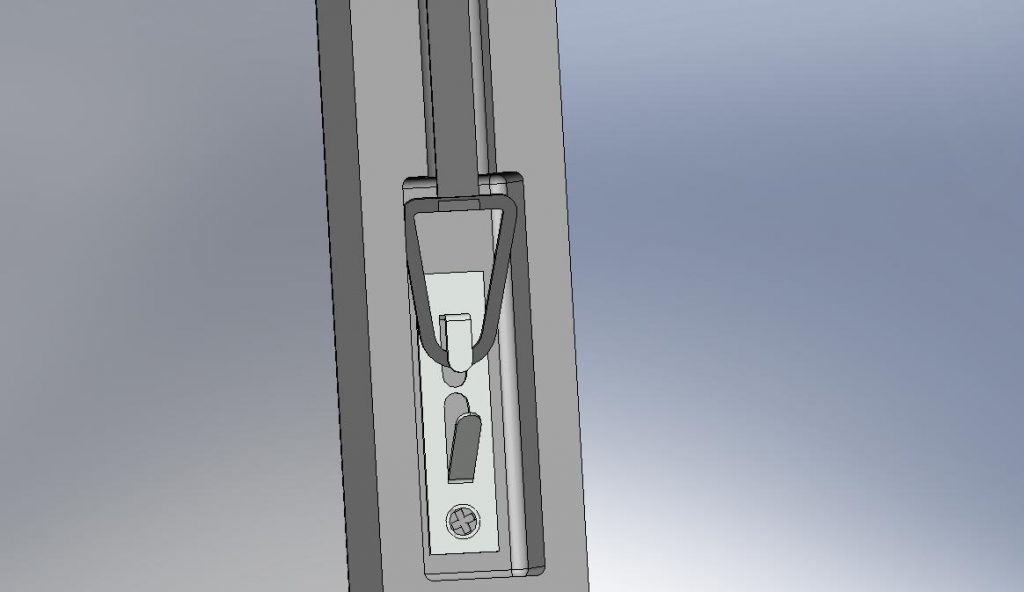
- Attach the Tape Hook (screw hole at the bottom) in the deeper part of the groove of the sash. The bottom angle piece is bent so it will come exactly flush with the edge of the sash. If no groove exists, notch an opening on the sash approximately 10 inches down for side type and 3 inches for overhead type.
- Make sure that the weights that are stamped on the faceplate correspond with the actual weight of the sash – this is important. Screw the balances in place. Attach the retractable tape to the hook or screw ( M balance). With the Hook device the sash may be fitted complete and fastened in the frame. Confirm that the sash glides smoothly before reattaching the stop bead